Getting Started
Welcome to Modular! This guide will walk you through the process of installing Modular on a fresh Laravel 13 installation, and setting up your project to start building your application.
Video Tutorial
We have prepared a 2-minute video tutorial to guide you through the installation of Modular on a fresh Laravel 13 installation:
Step 1 - Configure your database and run the migrations
We'll begin by assuming that you have a fresh Laravel 13 installation that is up and running. Firstly, configure the database connection in your .env file (located at the root of your Laravel project). You must be able to run the php artisan migrate command without errors to continue the setup:
php artisan migrateStep 2 - Require the Modular package
Open your terminal and navigate to your project's root directory. Then, run the following command to install the Modular package:
composer require daniel-cintra/modularThis will install the Modular package in your Laravel project and enable the auto-installation of the required dependencies.
Step 3 - Run the Modular installer
Now, run the modular:install command to complete the setup process:
php artisan modular:installIf asked, confirm that you want the installer to create the database for you.
The modular:install command will:
Install the required composer dependencies and publish the vendor package's configuration files.
Install the required npm dependencies and configure frontend tooling like Tailwind CSS and Vite.
Step 4 - Create an Admin User
To access the Modular Dashboard, you need to create an admin user. You can do this by running the following command:
php artisan modular:create-userThat's it! 🎉
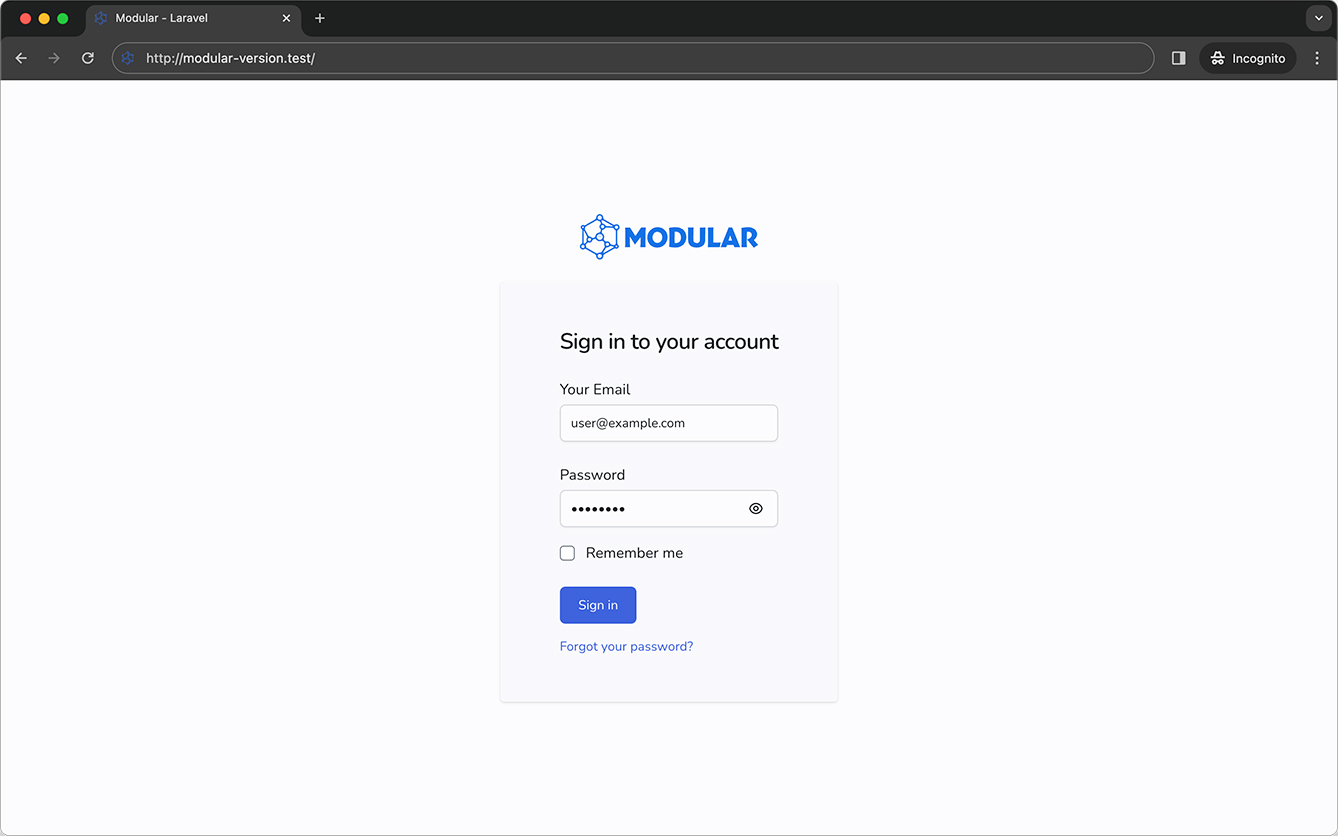
After a successful installation, open your browser and access your APP_URL (as configured in your .env file). You should see the Modular index page, as shown below:
Publish Language Files (Optional)
Optionally, you can publish the language files of the Modular package to customize the default messages and translations used in Authentication, Dashboard Menu, etc. This command will publish the language files to the lang/vendor/modular directory of your project:
php artisan vendor:publish --tag=modular-translationsBonus: Publish Laravel Language Files (Optional)
You can also publish the language files of Laravel for validation messages, reset passwords, authentication, and pagination. Currently, this feature is only available for pt_BR (Brazilian Portuguese):
php artisan modular:publish-laravel-translations --lang=pt_BRThe command above will create a new language directory inside the lang directory of your project, named after the language you have chosen (in this example "pt_BR").
For translating the Laravel language files to other languages, you can follow the Laravel Docs on Localization.